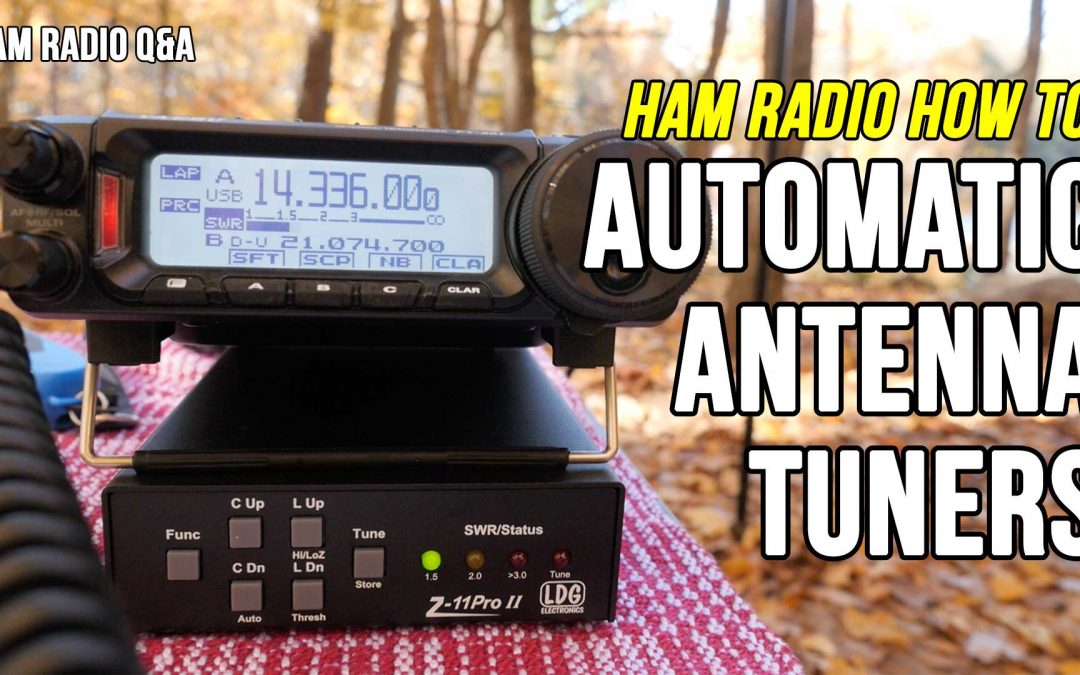
How to use an automatic antenna tuner with the Yaesu FT-891. In this video I show you the steps to set up and configure the LDG Z11 Pro II auto tuner with the Yaesu FT-891 portable HF transceiver.
n a recent video I talked about how to use a manual antenna tuner. Antenna tuners, also called transmatches, match boxes, tuning units, or antenna couplers are devices that match the impedance from an antenna system to your transceiver. Amateur radio transceivers expect a 50 ohm impedance from the antenna, but not all antennas will deliver that impedance. That’s where the tuner comes in.
As I said in the previous video, tuners don’t actually ‘tune’ your antenna. They don’t change the physical characteristics or make the antenna better. Instead they just provide the proper impedance match to the transceiver, so the transceiver can operate in a more efficient manner.
Manual tuners are an excellent station accessory as they are extremely versatile and allow you to use a wide variety of resonant and non resonant antennas. But there are also instances where you may want the convenience of an automatic antenna tuner. I’ve used a manual tuner with my portable HF kit, but last summer switch to an automatic model, the LDG Z11 Pro II auto tuner, and the reason I did so was two fold:
First, my manual tuner, the MFJ 945C travel tuner is getting a little long in the tooth and the tuning knobs are getting finicky. And secondly, the LDG is a little more compact, which shrinks the size of my overall kit.
But it’s not without its downsides. First off, the LDG tuner requires power, so I need to either put batteries in it or connect it to my portable power source. Instead of installing a AA battery tray inside the tuner, I opted to use a small 9 volt battery soldered together with a power connector as the alternate power method.
The other downside is that I give up a little bit of tuning range with the auto tuner. Most internal tuners will do 3:1 and an automatic external tuner will usually do 10:1. A full manual tuner can usually do better than that, but in reality out in the field I’m either using a resonant antenna like a dipole or my wolf river coil, or a multiband antenna that fits under those limits. If I need more, I can dig out the manual tuner.
Now I’m not saying that one is better than the other, because both auto and manual tuners have their place and I stand by my previous statements that a manual tuner is a station accessory every ham should have.

The Yaesu FT-891 is a very popular transceiver for portable operation, it offers 100 watts of power in a very small package. But it lacks a built in tuner. Some may find that a deal breaker but I really think that’s ok as it allows you to pick and choose an appropriate tuner for your needs. And that’s’ what I did with the LDG Z11 Pro II
The LDG Z11 Pro 2 is a low cost, small portable tuner that is ideal for mobile, base, or portable use. This tuner will do up to 125 watts sideband and about 30 watts digital. LDG calls this their zero power, which means in the standby mode it draws a negligible amount of power. Plus when tuning it requires a minimal amount of power so it can be run by a source as small as a 9 volt battery. It usually finds a match very quickly, and it remembers previous matches to speed the overall tuning process. Plus its half the size of my old travel tuner. But configuring the tuner for the FT-891 is not automatic, so there are a couple of settings in the radio you will need in order for it to work. I’ll show you how to do that, but first let’s look at the tuner.
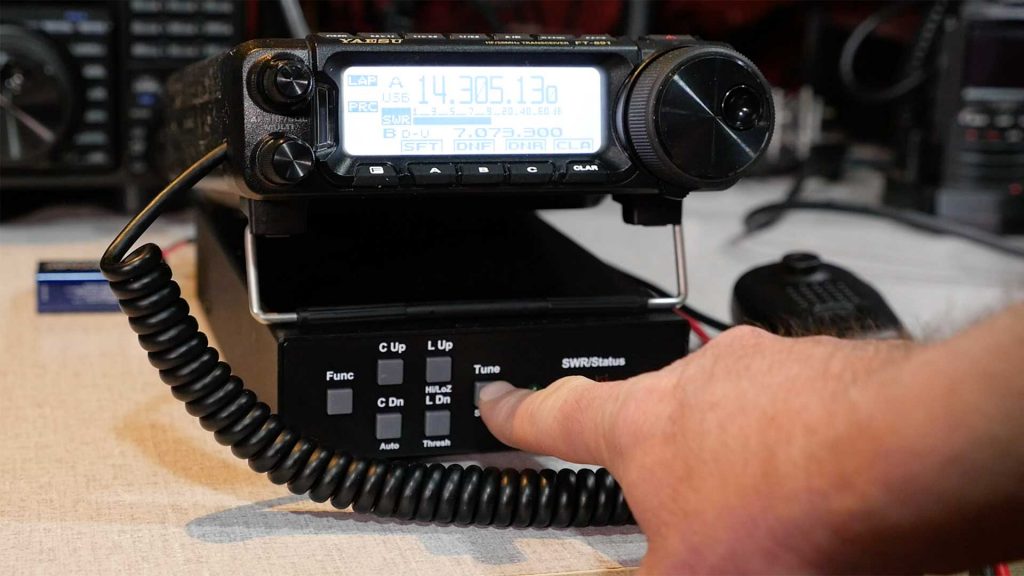
The front panel of the tuner has several buttons, but noticeably absent is the power button. Like I mentioned, the tuner draws no power unless it is actually tuning, so it is always ready and waiting. Moving through the buttons from right to left, you’ll see the tune button. You press this to activate the tuner so it can find a match. A one second press will activate the memory tune, where it searches previous tunes to find a match, a longer press will do a full cycle tune, testing all possible matches, and a momentary press will cycle between the tuned setting and untuned. So you can bypass the tuner and hear the difference between an antenna match and no match.
For most of your activities, the tune button is all you need, but the Z11 Pro 2 allows you to fine tune your settings with the next four buttons. L Up and L Down manually adjust the inductance and C up and C down adjust the capacitance. I’m not going to go into that today, but just know that ability is there for fine tuning. And finally the function button lets you select the additional features behind the buttons. Suffice to say, as an automatic tuner, this device allows you a great amount of flexibility to find good impedance matches for a wide variety of situations.
The four LEDs on the tuner give you the status of the device. It will show the level of SWR during transmit and tuning, and also indicate or confirm function changes when you make manual adjustments.
Looking at the back, you have the antenna and transmitter ports, and also connections for ground, radio control, and power. But let’s open up the unit and see how it works.

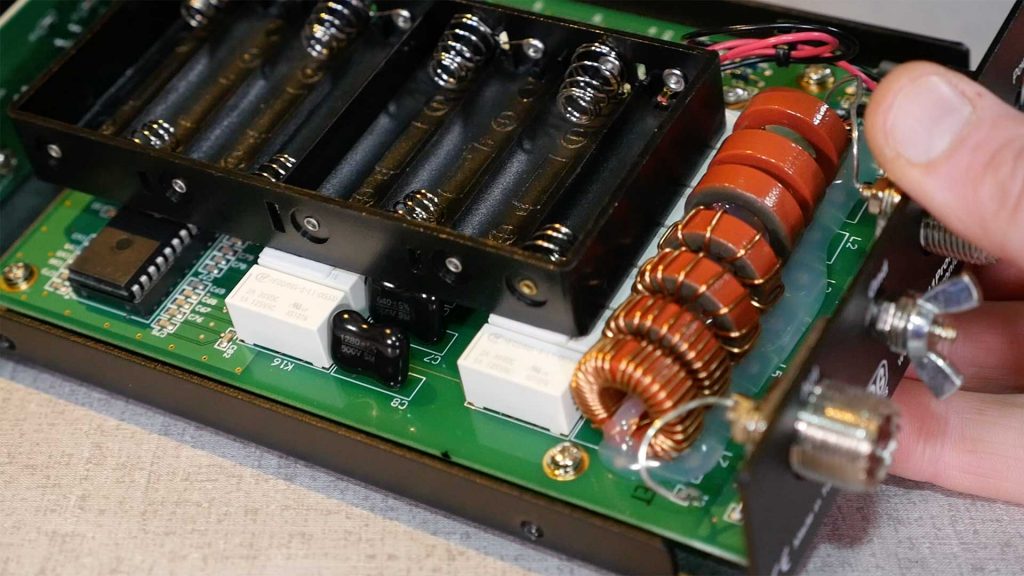
Unlike the manual tuner that has variable capacitors and a large air wound inductor, an auto tuner consists of an array of ferrite core inductors, capacitors, and relays. The processor in the tuner analyzes the SWR and intelligently cycles through the combinations of capacitance and inductance to find the proper match for the antenna. When it finds a match it places it in memory, so subsequent tunes can take less time. But let’s hook it up and see how it works.
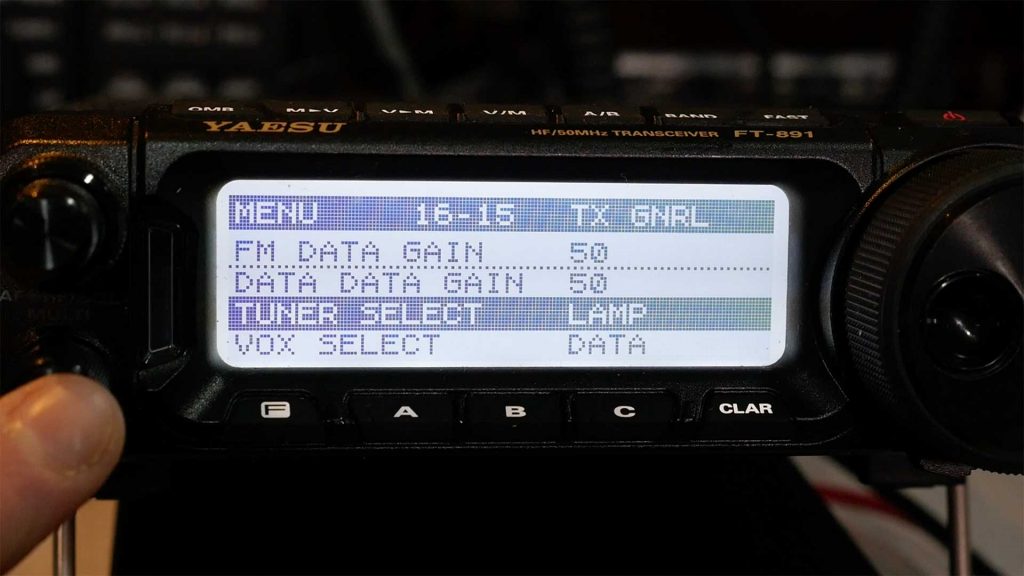
To use the Z-11 Pro 2 auto tuner with your Yaesu FT-891, you have two options. The first is using the control cable offered by LDG. you can connect it between the tuner and the transmitter so the tuner can control the radio. Then when you press the tune button on the tuner, it will drop the power of the FT-891, put it in a constant carrier mode, and transmit. The Ldg Y-ACC cable may look like a typical stereo tip ring ring cable, but it is not. You will need their specific cable to make this work. Plug the red end of the cable into the transceiver’s ALC jack. That’s the one on the left, closest to the USB port and the black end into the tuner’s remote jack.. Go to the FT-891 menu and select item 16-15 Tuner select. Change the tuner type to LAMP. LAMP stands for linear amplifier and basically the tuner is using the amplifier control circuitry to control the transceiver during the tuning process. Now when you press the Tune button, it will temporarily set the radio into CW mode, lower the power, and initiate the tune. That’s all you need to do. If you change frequencies within the band, the tuner will adjust, and if you change bands, press the tune button again to find a new match. But what if you don’t have a control cable for your LDG tuner?

As I mentioned earlier, the Z11 pro 2 is always sensing the SWR level and making tuning adjustments as you transmit. You could just pick a frequency and start talking, but single sideband does not present a constant carrier and tuning will be sub optimal. Instead switch your FT-891 to a constant carrier mode like AM or Data. Then transmit by holding down the push to talk button on the microphone. The tuner will then do its thing. Please note, though, since the tuner is only rated for about 30 watts for full duty modes, you should keep your data transmit power low for this activity. I don’t run more than 30 watts on my FT-891 for that reason so I’ve set my HF transmit power on the transceiver to 30 watts. The FT-891 allows you to set separate transmit power levels for sideband, am, and data.
As for the more advanced features of the tuner, the manual is really well written, but if you wish to see them in operation, let me know.
And there you have it, how to use an auto tuner with the Yaesu FT-891 transceiver. Do you have questions or comments about using an automatic antenna tuner? Please leave it in the comments below. I’ll filter through the comments and follow up with them. Who knows, you may end up on my next Your Questions Answered livestream.

Recent Comments