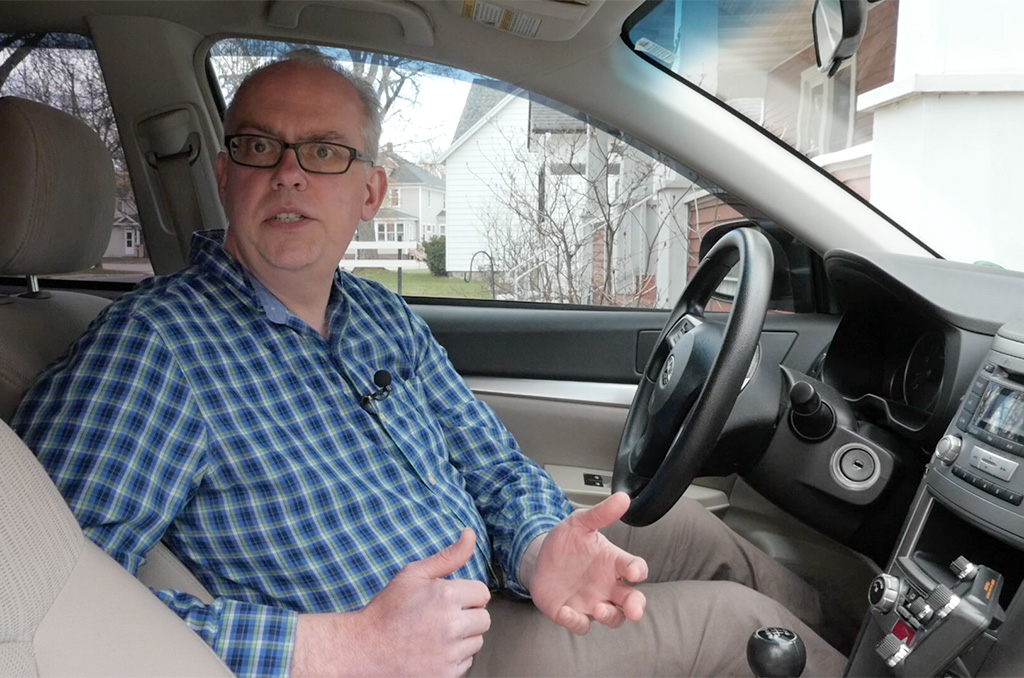
When it comes to mobile APRS, Yaesu’s FTM-400XDR is an excellent choice as it contains a built in GPS, excellent full color touch screen, and a sophisticated set of APRS functions. For mobile APRS use, I believe the FTM-400 gives the Kenwood TM-D710 a run for the money. As I’ve said before, APRS, or the Automated Packet Reporting System is a real-time tactical mode that allows you to transmit your geo location and send and receive short messages and beacons.
In my previous video on the FTM-400 I went into the basic steps on how to get APRS running on the rig, and if you are new to this radio I recommend you watch that first. Link to it is in the video description. But there is so much more that this radio can do, so we’ll run through some of the advanced APRS features that really make the Yaesu shine.
Smart Beaconing
One of the features of the FTM-400 that I really like is its implementation of Smart Beaconing. When you use a standard beacon rate, the radio will transmit your beacon at a predetermined time. This works well if you speed is consistent, but if you do a combination of city and highway driving, you may find you beacon too much on the highway and not enough in the city. Smart Beaconing takes into consideration the change of speeds and will alter the beacon rate accordingly. You do this by adjusting the slow rate and fast rate settings. The FTM-400 has four smart beacon settings fields: low speed, high speed, slow rate, and fast rate. There is also turn angle settings for the corner pegging feature. This will send a beacon when you turn a corner, which is really handy in the city. You can use the factory defaults, they are pretty good, but I’ve tweaked the settings a bit to give a more consistent 2 minute transmit interval at the higher speeds.
What I’ve done with my radio is to set the low speed to 5 miles per hour and my slow rate at 12 minutes. So if I’m slower than 5, which is in effect stationary, the radio will beacon at 12 minute intervals. My high speed setting is 50 miles per hour and my fast rate is 120 seconds, or every two minutes. so if I’m at highway speeds, I will beacon at a consistent interval.
When my speed falls between the slow rate and the fast rate my beacon rate will be the fast rate multiplied by the high speed and divided by my actual speed. This results in more beacons when I’m going fast, and less when I’m going slow. The nice thing is that you can play around with the fast rate and fast speed to find a beacon rate that fits your driving habits.
I also mentioned corner pegging, what that does is send a beacon whenever you turn a corner. Driving through town, you may not show an accurate track as you are turning corners more often than the beacon rate. But with corner pegging, the unit will send a beacon every time you turn, giving you a more accurate track.
To turn on the smart beaconing, press the function button to bring up the menu and press the beacon button until the solid circle on the screen is hollow. This indicates that smart beaconing is active.
APRS channel QSY
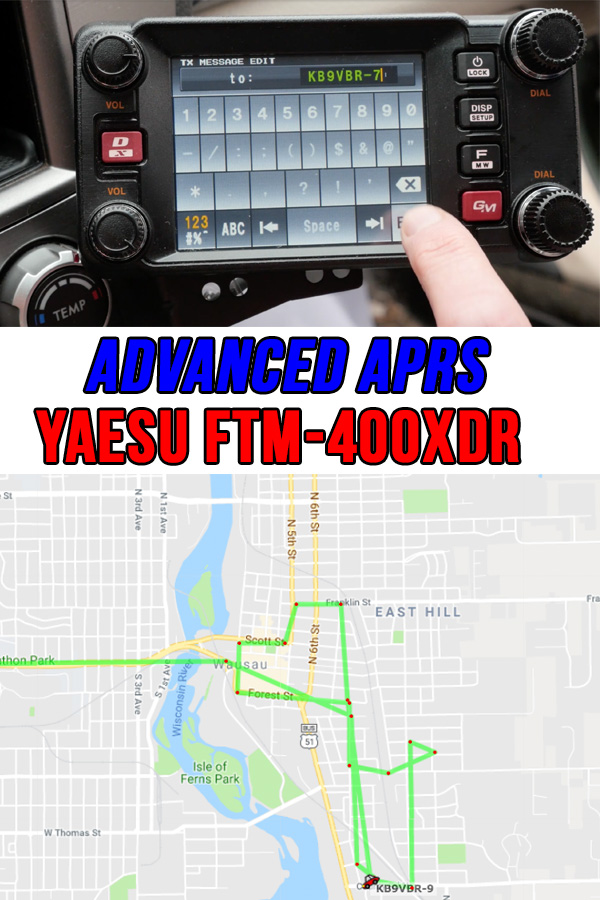
Scanning through the station list you’ll notice that the some of the beacons will have frequency information. In my FTM-400 basic APRS video I mentioned that if you have the frequency information embedded into your status text, that other stations will be able to tune into your frequency. You do that by pressing the QSY button.
To do that, first set your A band to the VFO mode. You radio loads the frequency into the VFO, so you need to be in VFO mode for that to work. Then go to the station list, and select a station. Alternately if the station flashes on the screen, you can also press QSY. The frequency will load into your VFO. You can then make a call.
So the station we made the call to was too far away. That’s not uncommon to have stations beyond the distance you can transmit show up on the screen. Fortunately you can sort the station list. the default sort of the station list is by time received, but there are options to also sort it by distance and callsign. To change the sort, first press the sort filter button and select the sort mode, and then press the sort button. the list will be reorded. Please note that new stations will be appended to the top of the list in time order, so if you want to sort them back into the list you will need to press the sort button again.
Sending and Receiving Messages
An integral feature of APRS is sending and receiving messages. The FTM-400 makes this process easy as its large touch screen doubles as a keyboard. So to send a new message, go to the menu and press the Message button. Next enter the callsign and your text. Press the transmit button and the message will be transmitted. You should receive an acknowledgment when the message is received, but sometimes that takes a bit of time for the acknowledgement to make its way back to you.
You can also reply to a station by picking the station in the station list and pressing the reply button. This will bring up the message screen. Press edit text and enter your text. Next hit the transmit button, the message will be sent.
Position Ambiguity
I’m going to talk about position ambiguity. One of the fact of APRS is that it puts your location out there for all the world to see. GPS technology is very good and the precision of today’s units will resolve down to feet. So a person could potentially locate the exact parking spot of your vehicle. If you wish to be a little more private on where you are, you can engage the position ambiguity. This feature will truncate your location coordinates, making your location, in a sense, more ambiguous. Normally, when turned off, your position will be resolved down to Degrees, minutes, and decimal minutes. Turning on position ambiguity, you will see four settings from 1 to 4. The first will truncate part of the decimal minutes, and as you move from 2 up to 4, more and more of the ending digits will be removed from your position, making your position circle bigger and bigger. In fact, at position 4, you will only transmit your position in degrees, making it quite hard for others to precisely locate you. So if privacy is an issue, feel free to engage the position ambiguity to your own tastes.
APRS reset
Finally, if you screw things up and want to start from the beginning, there is a mast reset for the APRS settings. Under the reset/clone menu is an APRS reset button. This will set the APRS features back to their factory defaults, so you can start fresh.
There’s more little bits and pieces that I haven’t covered, and if you haven’t done so yet, I recommend that you download the Yaesu’s APRS manual for the FTM-400. It contains 96 pages of information on just the APRS features of this amazing radio. It’s available on Yaesu website, I put a link to it in the video description below.
What do you like about the Yaesu FTM-400, is there an APRS feature I missed or you have questions on? Please leave it in the comments below, I’ll follow up and may pick out a few for my next Your Questions Answered video.
Recent Comments