Shark Antennas Hamsticks are mono band HF antennas that consist of a fiberglass mast with integrated coil and 48 inch stainless steel whip. In this video I review the 10, 15, 20, 40, and 75 meter Shark Hamsticks and give a solution on how to fix the poor SWR of the 40 meter Shark Hamstick.
Shark Antennas HF Hamsticks: https://www.gigaparts.com/catalogsearch/result/?q=shark+antenna
Shark HF Sticks on air test:
Parks on the Air K-1474: https://youtu.be/yZCeqtOm9Tc
Winter Field Day 2021: https://youtu.be/W61C7L4OSGU
Today we’re going to talk about the Shark Distributing HF stick antennas. If you follow the Parks on the Air activities, you’ll find that the Shark sticks are a popular choice with activators for their performance and convenience. So we’re going to take a look at these antennas so you can decide if you want to add them to your antenna arsenal. In full disclosure, I purchased a set of Shark Sticks with my own funds and the content of this review has not been influenced by the manufacturer.
According to the manufacturer, The Shark Single Band Antennas Represent an Economical Solution to Mobile HF Operation. Each American Made Antenna covers a Single HF Band with a Power Rating of 250 Watts P.E.P.
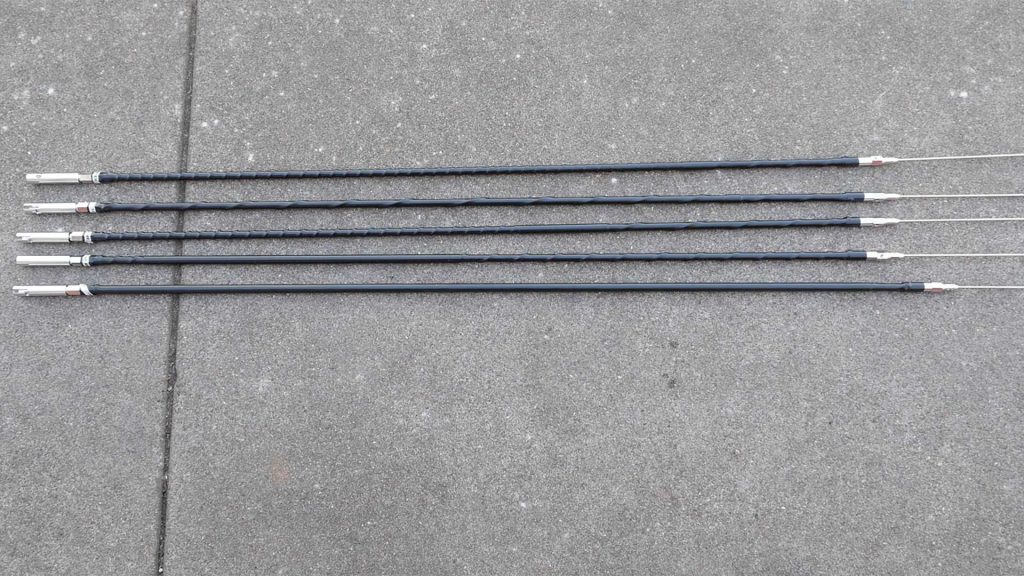
Each Antenna features a 44 Inch Black Fiberglass Lower Section with Integral Coil and an Adjustable 4 Foot Stainless Steel Whip. The base of the antenna is a 3/8 inch X 24 thread. The antennas don’t include a mount so you’ll either need to add a magnet base with a 3/8×24 thread or some other type of 3/8×24 antenna mount.
This review is on the Shark full sized whip antennas. Shark Distributing also has a mini whip version that I didn’t test. The only apparent difference between the two is that the mini antennas have a shorter whip while the full size version uses a longer 48 inch whip. If you are going mobile and size is an issue, the mini whip version may be a good option. But I’m reviewing the full size version of the antenna.
Shark also used to sell a five pack of their most popular sized whips, but this packaging appears to be recently discontinued. You can still buy the whips individually.
Like I mentioned, the bottom half of the antenna is a hollow fiberglass rod. Wire is wound around the rod and then covered with shrink wrap tubing. The amount of wire wound around the rod depends on the band the antenna is operating on. In effect the fiberglass section becomes a loading coil for the antenna. If you look at the lower bands, like the 40 or 75 meter model, you’ll find a section of tightly wound wire. The 75 meter antenna is almost entirely tightly wound with wire. At the higher bands, like the 10 meter model, the coil is virtually absent. The advantage of this is that the tightly wound section creates an inductance that electrically shortens the antenna, making it more manageable for mobile use, but the downside is that the Q also increases and your bandwidth gets progressively narrow as you drop in frequency. So much so that you need two antennas to cover the entire 75-80 meter band, one for the lower half of the 80 meter band and another for the upper portion or 75 meter band.
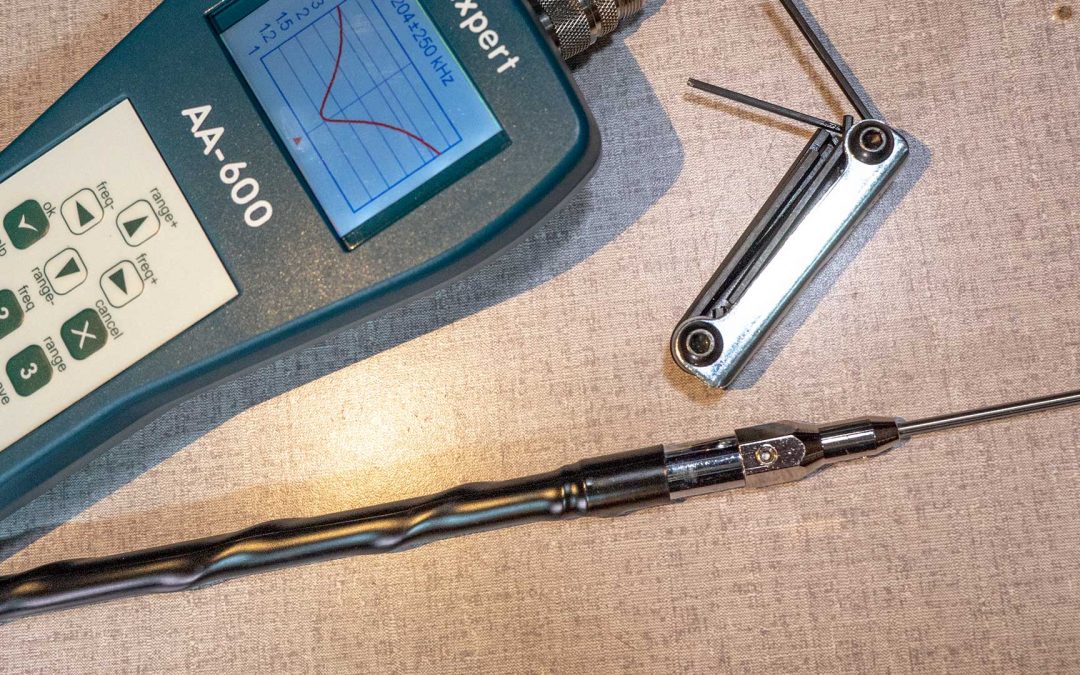
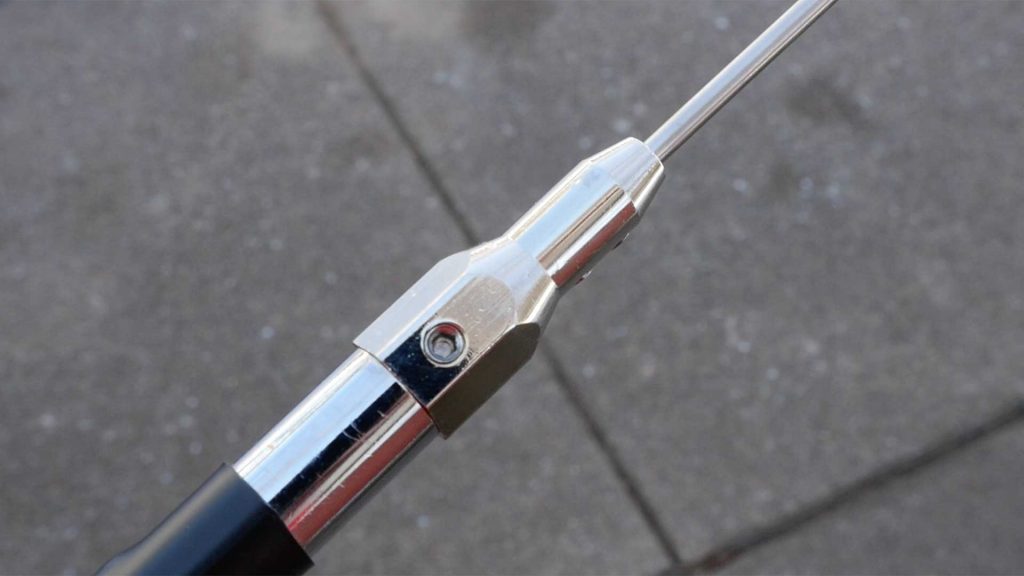
We’ll talk more about bandwidth in a bit. The top half of the antenna is a stainless steel whip with a ferrule that holds it in place with two sets of Allen screws. The weird thing is that the allen screws are two different sizes. The antenna does come with a pair of wrenches, but I recommend that you invest in an inexpensive set of Allen wrenches as the individual ones always tend to get lost. The screws are SAE or standard US sized so your metric allen wrench set won’t work.
To tune the antennas you adjust the whip length. Shark provides a little chart that gives you a starting point but the resonant points can differ depending on the frequency you choose and how the antenna is mounted. I think the chart may be for mid-band as I was tuning mine for the upper portion of the bands and ended up with whips a bit shorter than what the chart said. The easiest way to tune these antennas is with an antenna analyzer, but you can also do it with the SWR meter in your transceiver by turning your power level low, taking a reading on a constant carrier mode like AM or CW and then performing an adjustment to the antenna. Repeat the process until you are satisfied. The good news is that the tuning process seldom needs to be repeated unless you have a drastic change in your operation, like changing the mounting base or something.
Since we are talking about tuning, I need to mention an issue I’m having with the 40 meter stick. Of the other antennas in the set I have no problem getting the SWR down to 1.3:1 or less, with the exception of the 40 meter shark HF stick. For that antenna, the best I can usually do is about 1.7:1. I’ve done a little bit of research and talking with others about that issue and it appears that the 40 meter stick can be quite sensitive to the capacitive coupling that occurs between the mag mount base and the vehicle. Some people report that using a larger magnet base solves the problem while others say it doesn’t. Others recommend adding a counterpoise to the magnet base. It seems that 40 meters is quite sensitive when it comes to capacitive coupling and there tends to be a bit of variability with the antenna deployment and other external factors, so it can be difficult to say if a particular installation will have the SWR issue or not.
I recently talked to Dave KZ9V, who has had a lot more experience with the shark sticks than I, and he’s spent a lot of time working out the SWR issue. Here’s a portion of our phone conversation.
So in replicating Dave’s experiment, I placed the antenna on the roof of the car and added 25 feet of RG-8X coax to the existing 16 feet included with the mag mount base. I then ran the coax perpendicular to the car. The SWR dropped down to 1.5:1, but the center frequency moved from 7200 khz up to 7350 khz. I extended the whip as far as it could go and got the resonant frequency back into the band at about 7204 khz. Putting a ferrite at about the 20 foot mark helped a lot and I ended up with an SWR at 1.2:1 at 7204 khz. In this configuration the coax is acting like a counterpoise, so there is a bit of variability in SWR depending on how the coax is laid out and if you use the ferrite as a choke to control the length of the counterpoise.
Finally, let’s talk about bandwidth, as that can be an issue on the lower bands. When we describe bandwidth, we talk about 2:1 bandwidth, or the amount of frequency spread where the SWR is 2:1 on either side of the sweep. The great news is that the 10 meter antenna covers the entire 10 meter band, you could tune it for 28.5 Mhz and the 2:1 bandwidth covers everything with a bandwidth of over 2.6 Mhz. For the other bands it gets narrower. The 15 meter antenna has about 1.4 Mhz of bandwidth, the 20 meter antenna has about 500 khz of bandwidth. Both of which capably cover the entire bands. As we move to the 40 meter band, you can see on the chart my SWR issue. Initially the antenna is showing an SWR of 1.9:1 with 60 khz of bandwidth. If we can get the SWR down lower the bandwidth will increase. In my experiment of lengthening the coax, I found that I was able to increase the bandwidth to about 170 Khz with an SWR of 1.2:1 at the center frequency. That makes the antenna usable on the top half of the band, but not really in the CW and digital portion as I had to use the entire whip length in order to get there. Dropping down to 75 meters, the bandwidth gets paper thin. Literally 60 khz. 75-80 meters is a big band so you can see how that can be an issue.
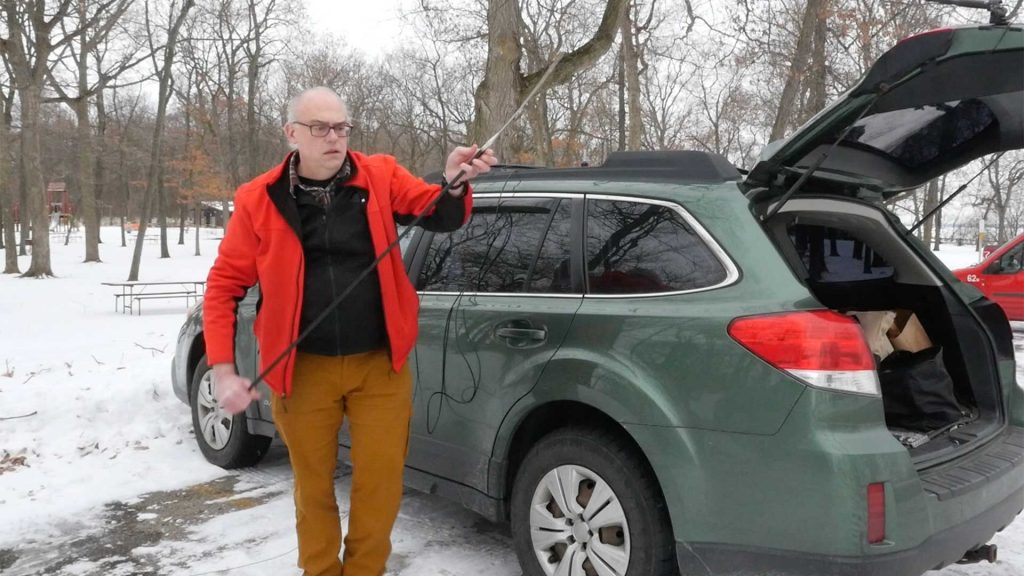
In order to test their operation, I took the antennas out on two parks on the air activations this past winter. The first, in early January was at Rib Mountain State Park in Wausau Wisconsin. I used both the 40 and 20 meter sticks. SWR on the 40m stick averaged about 1.6:1 but the noise floor at that location prevented me from making many contacts. On 20 meters, the tuning was much better and I picked up 35 contacts in about 40 minutes. I did try the 75 meter antenna on the mountain, Dave KZ9V lives about 90 miles away and while he could hear me just above the noise floor on 75 meters, I could not hear him. But a vertical antenna isn’t the best choice for short distance contacts like that on 75.
A couple weeks later I used both the 40 and 20 meter sticks for the Winter Field Day when I activated High Cliff State Park near Appleton. It was a busy weekend on the bands, but I had no problem getting through many of the pileups on both 40 and 20 meters with the Shark Sticks. On the air reports were quite good, I received excellent signal reports using the antennas. I’ll put links to both of the videos in the description below if you want to see more on the actual operation of antennas. Otherwise I’m pretty satisfied with how they handled in both events.
So what do I like about about the Shark Sticks HF antennas
First off they are well constructed and seem to be quite durable. They are convenient: once they are tuned, band changes are as easy as swapping an antenna. And finally they are inexpensive. At under $25 an antenna, they are an excellent value- and you can pick and choose which bands interest you.
And now for the bad. Mostly the downsides have to do with their bandwidth and tuning on the lower bands. The bandwidth at 80 meters is paper thin, so you will need two antennas, one for 80 and one for 75 meters if you wish to cover the entire band. Also the 40 meter band antenna is problematic to tune- its capacitive coupling is iffy, so you have to deal with work arounds to get a good tune on that band, and finally their convenience is also a bit of a hindrance. You need a separate antenna for each band. So while it is easy to change bands by changing antennas- you still have to take the effort to change antennas.
But all in all I still think the Shark HF sticks are a good deal and I’ve enjoyed using them as part of my wintertime parks on the air activations. I’ll most likely continue to use them as a vertical antenna option for future activations. I also think they are a good choice for HF mobile, especially if you only work HF on one band or have the ability to stop the vehicle to change bands. I also recommend that if you plan on buying more than one shark stick, to also purchase a set of couplers as they make changing the antenna fast and easy.
And that’s it. I’d like to thank Dave White KZ9V for his help with this video. Consulting with him several times was crucial in working out the issues of the 40 meter antenna. And for my Patrons over on Patreon, as a bonus I’ll upload the entire telephone conversation Dave and I had and the SWR plots for each of the antennas. You can check that out at patreon.com/kb9vbrantennas.
Do you have questions or comments about the Shark HF Stick antennas? Please leave it in the comments below. I’ll filter through the comments and follow up with them. Who knows, you may end up on my next Your Questions Answered livestream.
Recent Comments