I enjoy searching for hidden transmitters. I did my first fox hunt more than 15 years ago and built a tape measure yagi antenna for that purpose. That antenna served me well and not only sniffed out hidden transmitters, but also located an individual causing malicious interference to our local repeater. Our club was looking for activities for the coming year that were a little more social, so a fox hunt was recommended. So out comes the tape measure yagi from the garage. But it was getting a little bit scuffed and the cable was all ratty. So I decided it was time to build a new one.
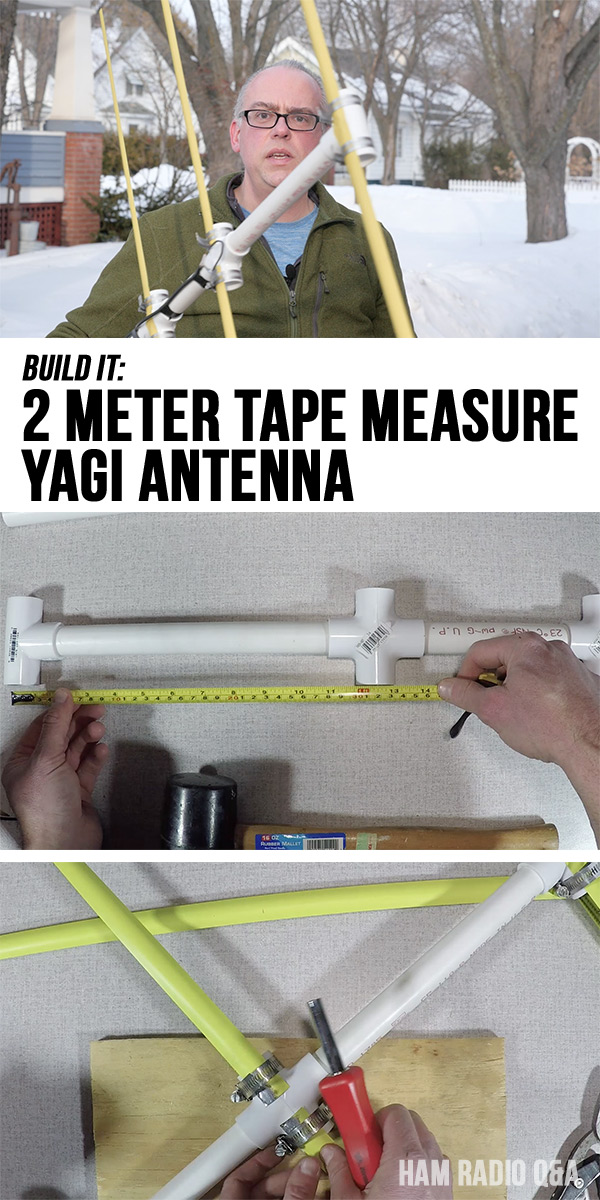
The 2 Meter band tape measure beam antenna is a 3 element Yagi with about 7.2 db of forward gain. This lightweight antenna is perfect to use for fox hunts or as a portable directional antenna for public service events.
There are plenty of plans online to build your own tape measure antenna, but no good step by step video that takes you through the process. So with that, watch the video and go ahead and build your own tape measure yagi.
Parts List
- 1 25 foot 1 inch wide steel tape measure
- 1 10 foot piece of 3/4 inch Schedule 40 PVC Tube
- 2 3/4 inch PVC Cross connectors
- 2 3/4 inch PVC T connector
- 6 3/4 to 1 1/2 inch stainless Hose Clamps
- 1 5 inch piece of 14 ga wire
- 1 length of RG-58 cable, approx 6 foot
- Solder and Flux
- Electrical Tape
Tools
- Soldering Iron
- Tin Snips
- Wire Cutter
- Screw driver or nut driver
- PVC cutter or fine tooth saw
- Sand paper or Dremel tool with sanding disk
- Ruler or tape measure
Step 1
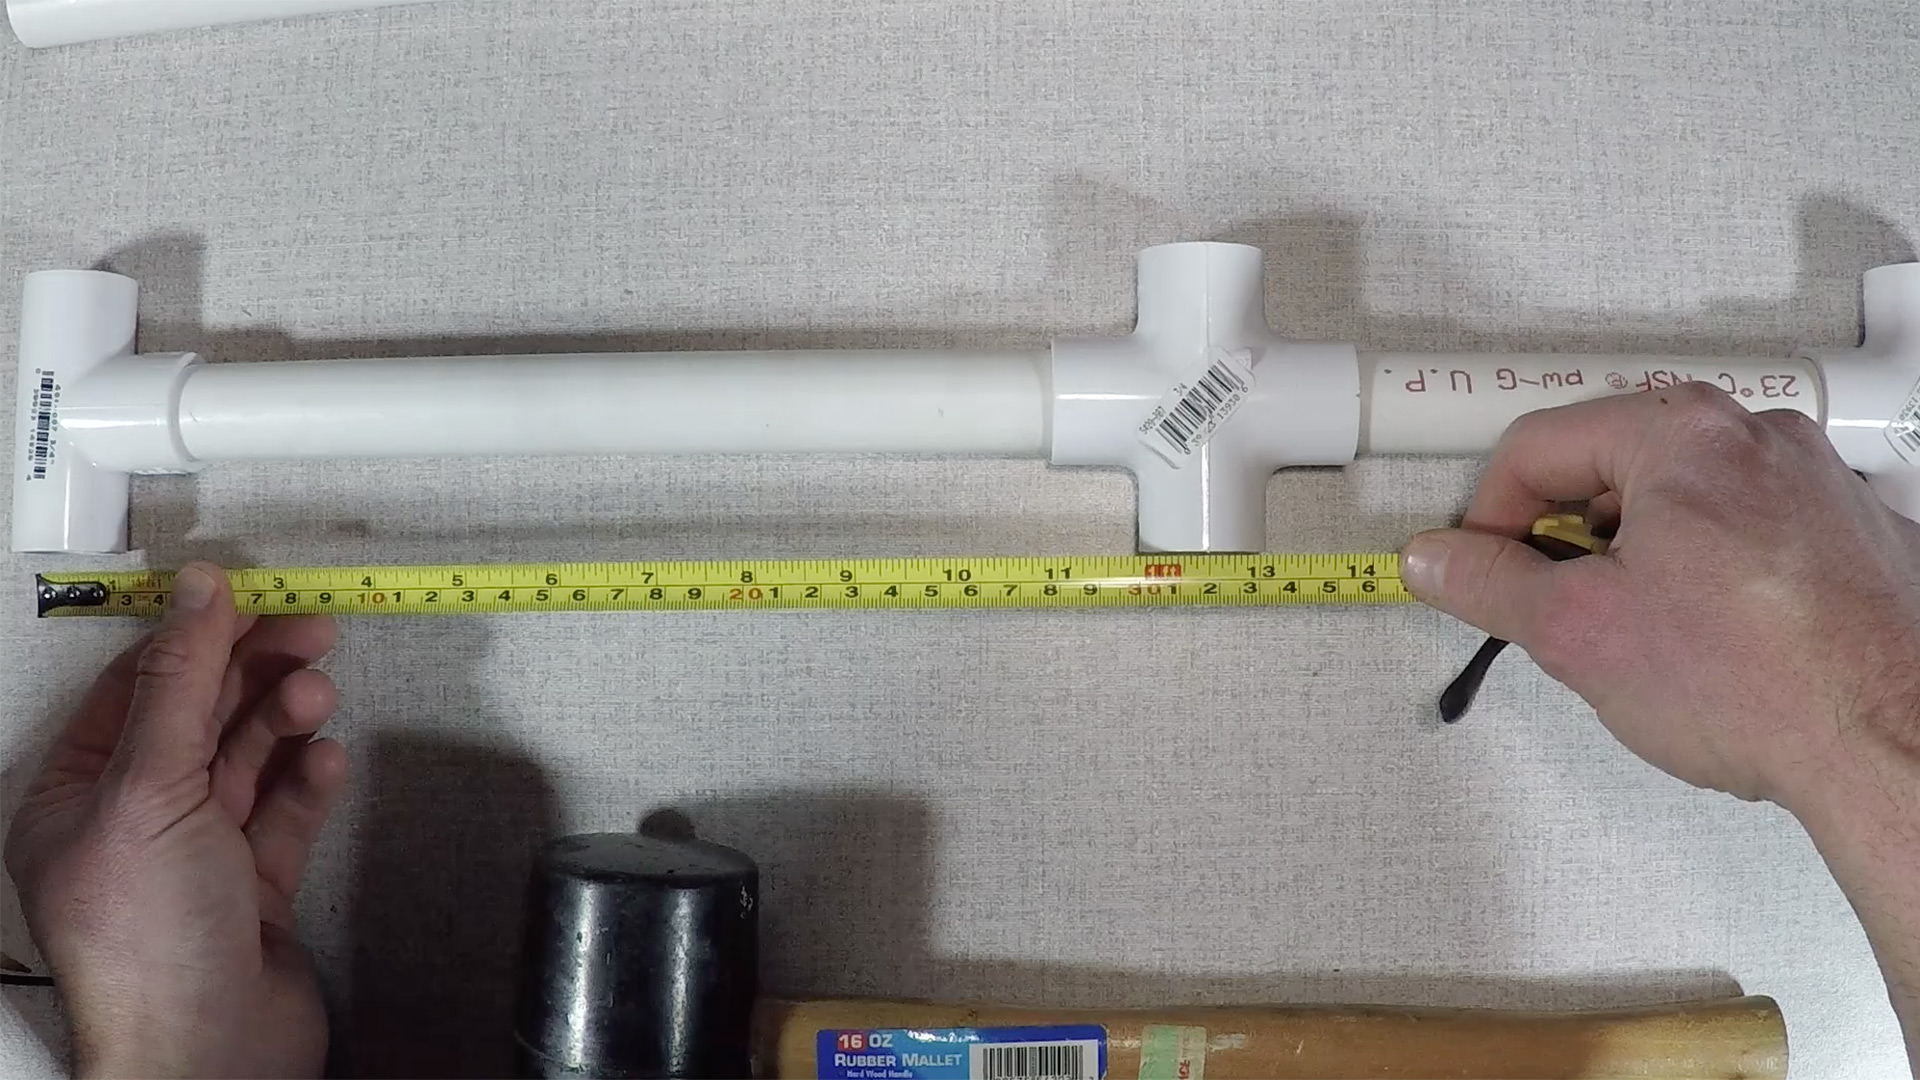
Cut three pieces of PVC tubing. One piece will be 11 1/4 inches long and the second will be 6 7/8 inches long. These pieces will make up the support boom for the antenna. The third piece can be any length, it will be the handle for the antenna, so give yourself about a foot or foot and a half. Whatever is comfortable.
Fit the pieces of PVC tube together with the crosses and the T. You may PVC cement if you wish to make the connections permanent, otherwise dry fitting them will be fine. The distance between the first cross and the middle cross has to be 8 inches and the distance between the middle cross and and the T has to be 12 1/2 inches. These are measured from the center points of the connectors. Make adjustment if necessary.
Step 2
Cut the tape measure into four pieces. One piece will be 41 3/8 inch and the second will be 35 1/8 inch. These are the reflector and director elements for your yagi. The driven element is made up of two pieces, so cut two pieces that are 17 3/4 inches long.
Step 3
On the two driven element pieces, sand or grind away the paint from one corner. This is where we will solder the the coax and the hairpin match. Apply flux and use your soldering iron to tin this area. It’s easier to tin this area now before attaching the elements to the support boom.
Step 4
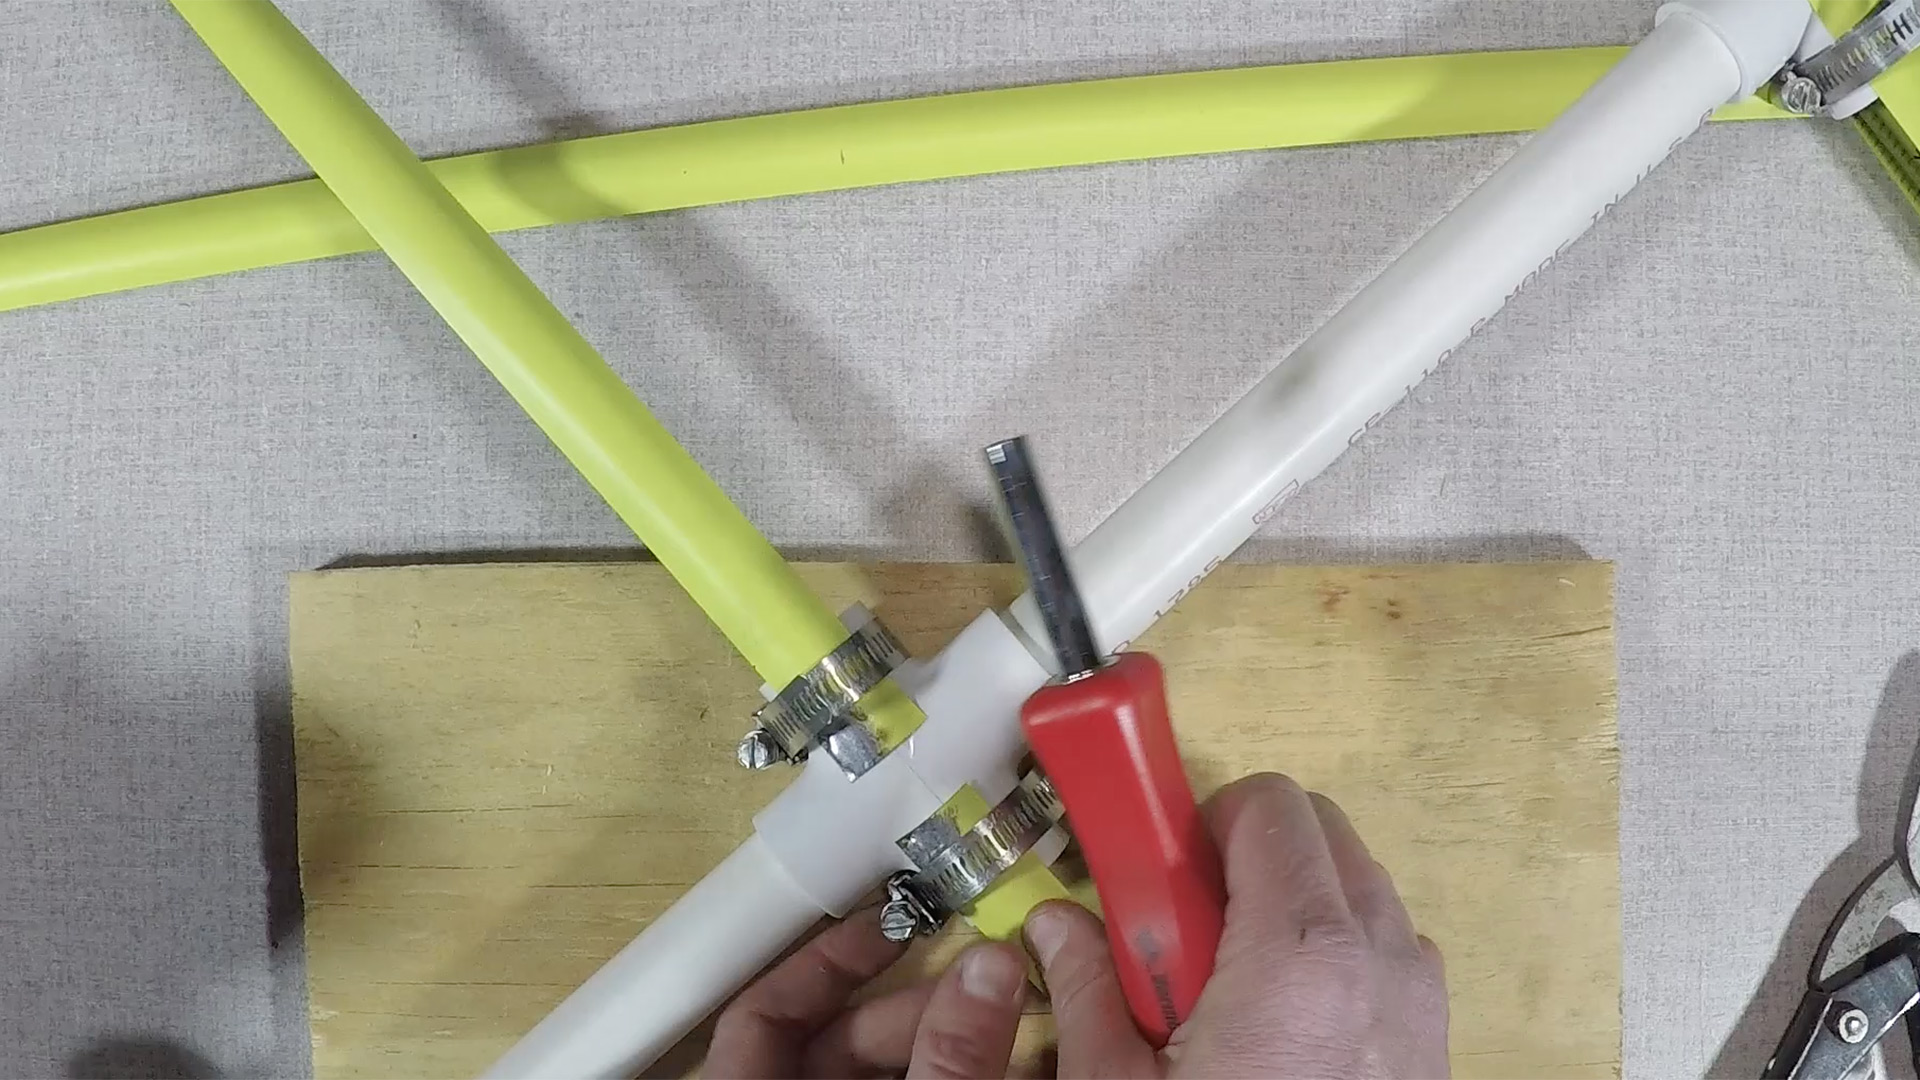
Assemble the director and reflector elements. Making sure they are centered, use the hose clamps to attach the elements to the T and Cross connectors.
Step 5
Assemble the driven elements. Using the hose clamps, attach each half of the driven elements to the Cross connector. There should be a one inch gap between the two pieces.
Step 6
Attach the hairpin match. Take your 5 inch piece of wire and strip 1/4 inch off each end. Bend the wire so it is in a U shape with a 3/4 inch gap. Solder this to the tinned ends of the driven element.
Step 7
Attach the coax. I’ve got a six foot length prepared piece of RG-58 coax where I put a BNC connector on one end and stripped the braid and center conductor on the other. You’ll solder these two ends to the driven element of the antenna. It doesn’t make a difference which end goes where. Now before you solder, you can drill a hole in your boom and thread the coax inside the pipe. Otherwise just use a couple of cable ties or electrical tape to secure the coax to the antenna.
With that, your antenna is complete. With these dimensions the antenna should be resonant at about 146.5 Mhz. If you are going to use this as a receive antenna for fox hunting, tuning isn’t critical, but if you plan to transmit with it, then you can check it with an antenna analyzer or power meter and make any small adjustments by varying the gap between two parts of the driven element.

Have you built a tape measure yagi antenna? Let us know your experience in the comments below.
References
Construction process based on designs from the following:
http://nt1k.com/blog/2012/vhf-3el-tape-measure-yagi/
http://theleggios.net/wb2hol/projects/rdf/tape_bm.htm
Soon we will have a fox hunt in the TG9 area I found it very practical, simple and well explained your video and blog about the construction of the Yagi antenna that you made, I can use your project to move it to Spanish and that colleagues in the area can build on this to build your Yagi antenna.
Of course I’ll quote the source and place links to your video on YouTube and your blog.
Tell me if you agree, cordial ’73