Recently I purchased a new to me car. After years and years of being second or even third in line for the nice auto, it was finally my chance. This meant I was also able to put a radio back in the car. Although I will admit that I did have radios in the older junkers- when the kids started driving, I didn’t have just one car I consistently drove, so I neglected outfitting the vehicle.
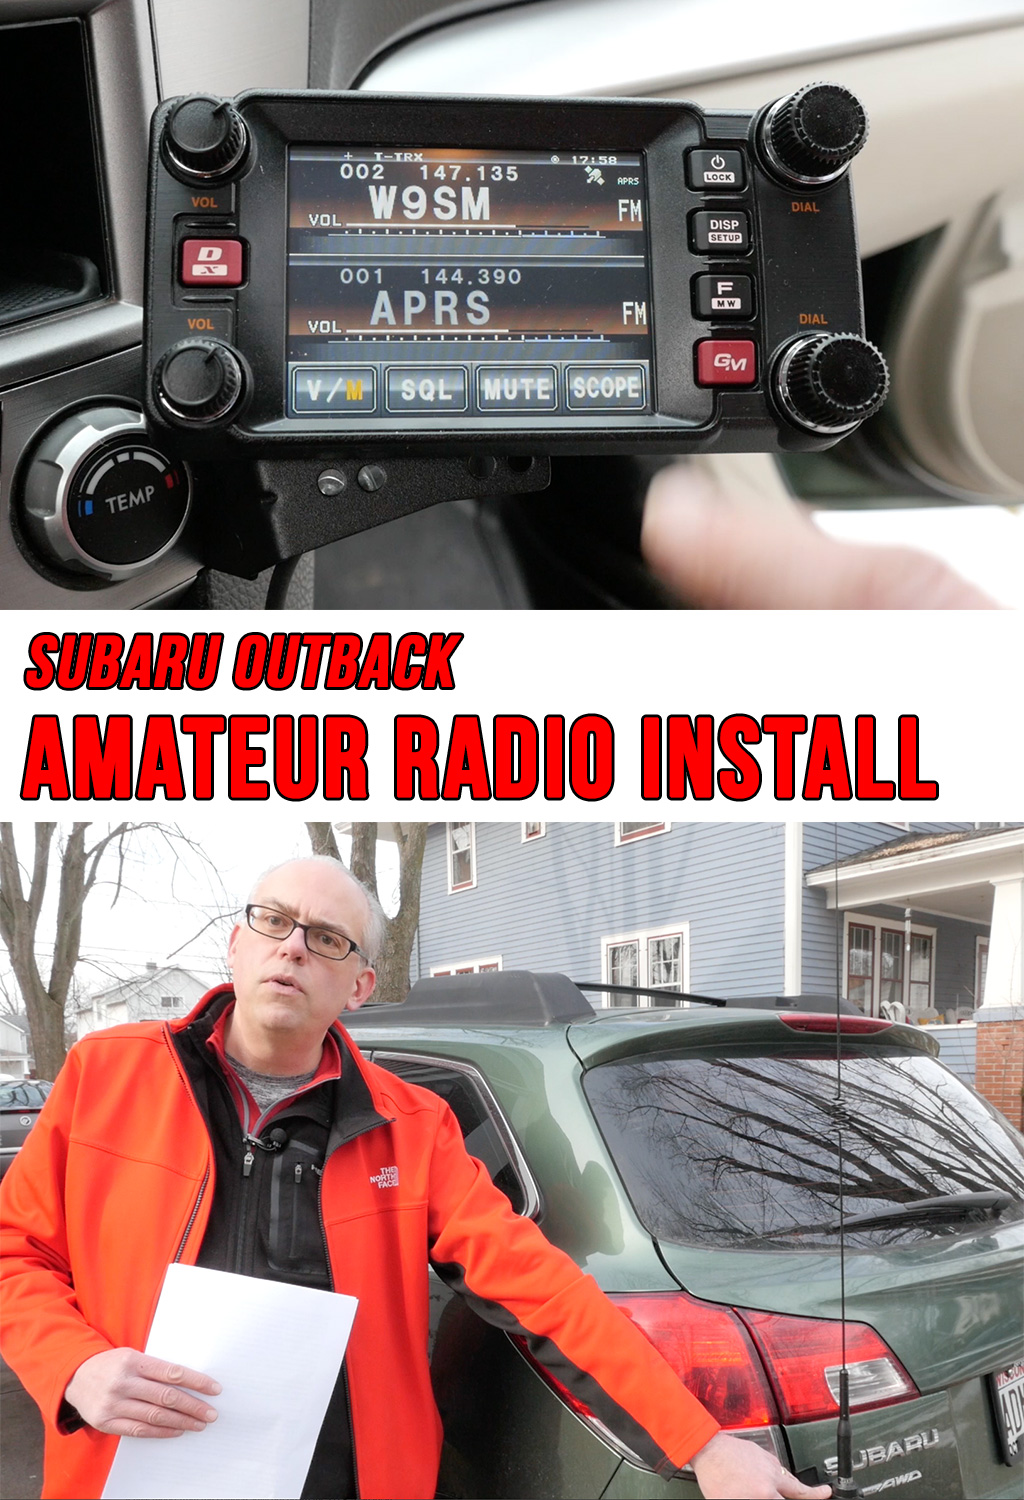
But this is no longer the case and now since taking ownership of a 2014 Subaru Outback, I made immediately made plans to outfit it with some radio equipment. So first off I needed to choose a mobile radio. I know I could have put one of my older radios in the car, but since I was outfitting the vehicle from the ground up, I wanted to get a new rig too. So I started out with a short list of features that I wanted, namely, dual band, dual VFOs, easy to ready screen, APRS support, crossband repeat, compact design, and potentially digital operation. Since every radio in this feature class has a removable head, my plan was to place the radio body under the drivers seat and mount the head somewhere on the dash. This narrowed my choices down to three radios. The Icom ID-5100A, Kenwood TM-D710, and Yaesu FTM-400XDR.
 So which one did I choose? After lots of discussion with users and pouring over specifications and reviews, I made my decision on the Yaesu FTM-400XDR. The reason is a few fold. First, the radio has dual VFOs so I can monitor two channels simultaneously. And like the Kenwood, I can set one of the bands to the APRS channel for tracking. But one thing the Yaesu does over Kenwood is give you APRS interaction from the control panel. The Icom has an APRS like feature, but it runs over their D-Star network, so no APRS if you are out of range of a D-Star repeater. Also, the FTM-400 has what I feel is the nicest of the screens and menu system. I really like the bright TFT LCD panel and the touch screen operation works well. The control head is also a bit smaller and I felt I might run into issues mounting the larger Icom head. Digital support is a nice bonus, but it wasn’t a key deciding factor. But I must admit after using the Yaesu for a bit, I do really enjoy the ease of using System Fusion.
Enough about the radios, though. The choice of which radio to use is a personal decision and I’m not saying one is better than the other. All three are great rigs, and this is the one that I settled on. Let’s get out of the car and talk about power and antennas.
Under the Hood
 First off I’m going to talk about power. It can be convenient and simple to power the radio from the accessory lighter port in your car, and I’ve done that many of times when I’ve temporarily put radios in the car, but doing so has some shortfalls. First most accessory ports are only rated for 10 amps, so you can’t safely run more than 20 watts from the radio. Next, since you are going through the car’s electrical system, you will can pick up interference from other components. The best option is direction connection from the battery, and that’s what I did.
My power line starts with both positive and negative running from the battery. Both sides are fused, and a 10 gauge line goes through the firewall to the radio. I could have gotten away with 12 gauge wire if I was only going to run one radio, but I went with a heavier cable for future capacity if I decide to add a second rig.
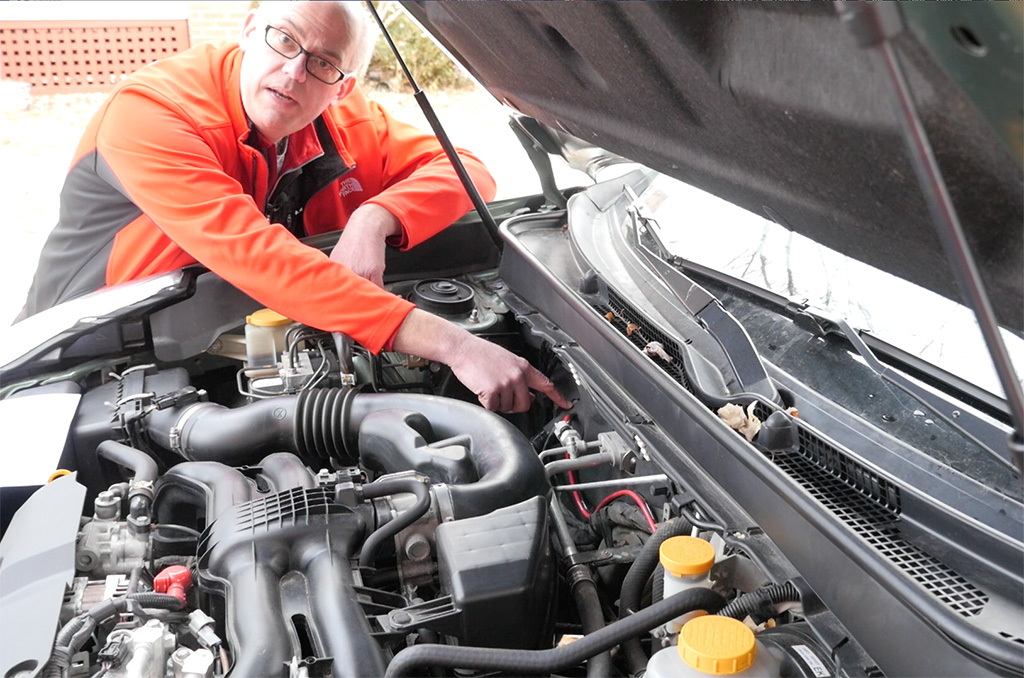
Next is getting through your firewall. Some cars will have easy access and other will be really tough. You may end up digging around under the dash and pedals looking for an empty hole to run the cables. The 4th generation Subarus has a really convenient empty grommet next to the brake booster, but my car has a manual transmission so that space was occupied by the clutch booster. i ultimately ended up inspecting this spot here where the car’s electrical system runs through and finding enough space that I could slice a small hole and thread the cable through. My power cable ended up in the passenger side at the corner of the glove box. Here’s a tip if you are having trouble finding a power spot for your car, search online for people running power for their audio subwoofers, That’s what worked for me. Also, however easy it may look, don’t run your power through the door. It may look easy, but the power cable will take a lot of wear and tear with opening and closing the door.
Antenna location
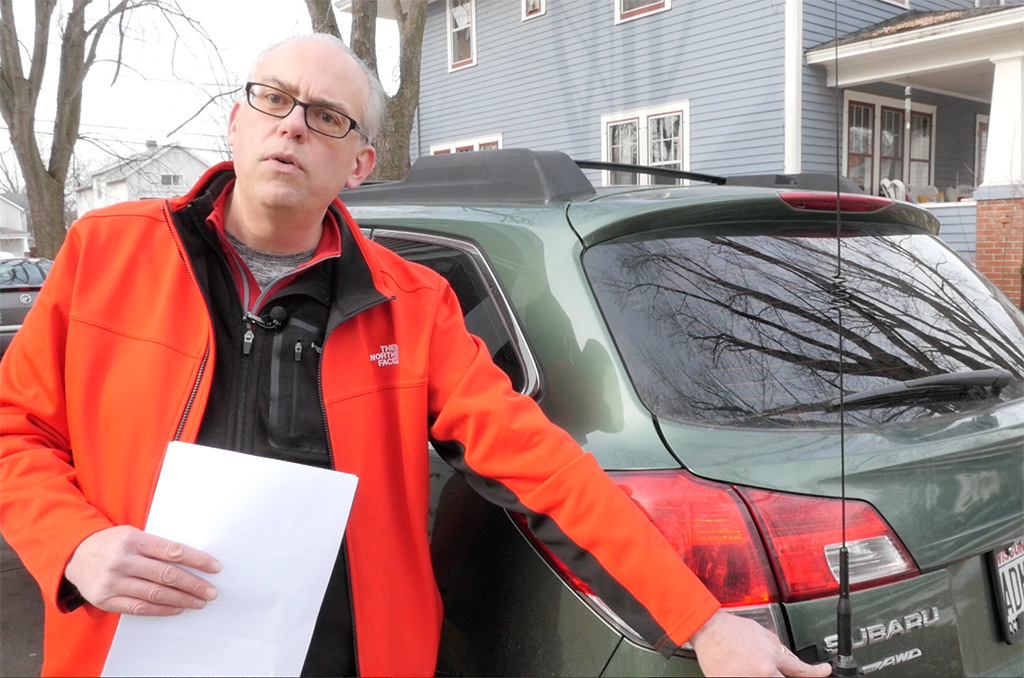 There are always trade offs you have to deal with when you mount an antenna on your vehicle. Research tells us that the best place is to drill a hole smack dab in the center of the roof. But that may not be the best position based on the car, and your driving habits. As I wanted to still be able to use my roof rack, I opted not to place the antenna on the roof. So that left me with the option on placing the antenna on the lift back. Ideally I would have put up here, but vehicle shape often dictates the best location for the mount, so the antenna is attached on the lower third of the gate. It works well, but isn’t ideal. I’m using the Diamond K400S-NMO mount which is fully adjustable for a wide range of mounting options and the Comet SBB5 dual band antenna. It’s a half wave on 2 meters and 5/8 wave x 2 on 70cm, so it has reasonable amount of gain. and it’s short enough that i can enter most parking garages without removing it. Moving forward, I may replace it with the SBB7. I’ve had good results with that antenna in the past, but I’ll stick with this for now.
The Diamond mount uses RG-316 which is a pretty thin cable, so it wasn’t too difficult to route the cable through the car. I pulled some trim off the lift gate and routed the cable through here, along the edge of the headliner and down this pillar. Then it goes along the edge of the cargo area to the radio under the drivers seat. I found some videos on how to install an aftermarket back up camera which gave me insight on routing cables and removing the trim components.
Radio and Control Head
 Radio is under the drivers seat. I have it mounted on a piece of plywood, so its free floating down there. I’ve done this with other cars, and seems to work well. I can slide it out if I need access to the connectors or the CD card slot for reprogramming it.
Moving inside, the radio itself is mounted to the dash with a Panavise mobile device mount. I looked at other clip and friction mounts, and I liked this option the best for this car. I did have to remove some trim to screw in the panavise mount, but that was surprisingly easy.
One important consideration in mounting a radio in your car is to stay clear of the airbag zones. So the steering wheel and upper parts of the dash are off limits. You can mount on the center dash, but just remember that items become projectiles in a crash, especially the higher they are located in the vehicle.
For future upgrades, I still need to do a bit of cable management. I don’t want to drill a hole in the dash for the microphone, so I’m going to test to see if the 3M command strips will be strong enough to attach the mic clip to the dash. I also need an external speaker, with the main unit under the seat the sound is a little low and muffled. But for the most part, I’m satisfied with the install and the radio is working quite well for me.
I hope this gives you some ideas and insights for your mobile radio install. Everyone’s install will be a little different depending on the vehicle and the radio, but I tried to illustrate the best practices for the installation process. Do you have any mobile radio install tips, please leave them in the comments below. I’d love to hear about what worked for you .
Links/Resources
Comet SBB5-NMO Antenna: https://amzn.to/2BsX4G2
Diamond K400S NMO Lip Mount: https://amzn.to/2TEIH8D
Yaesu FTM-400XDR Dual Band Mobile:
https://www.gigaparts.com/yaesu-ftm-400xd-50w-2m-70cm-mobile.html
Panavise Custom In-Dash Mount Subaru Outback: https://amzn.to/2DTS7sf
Recent Comments