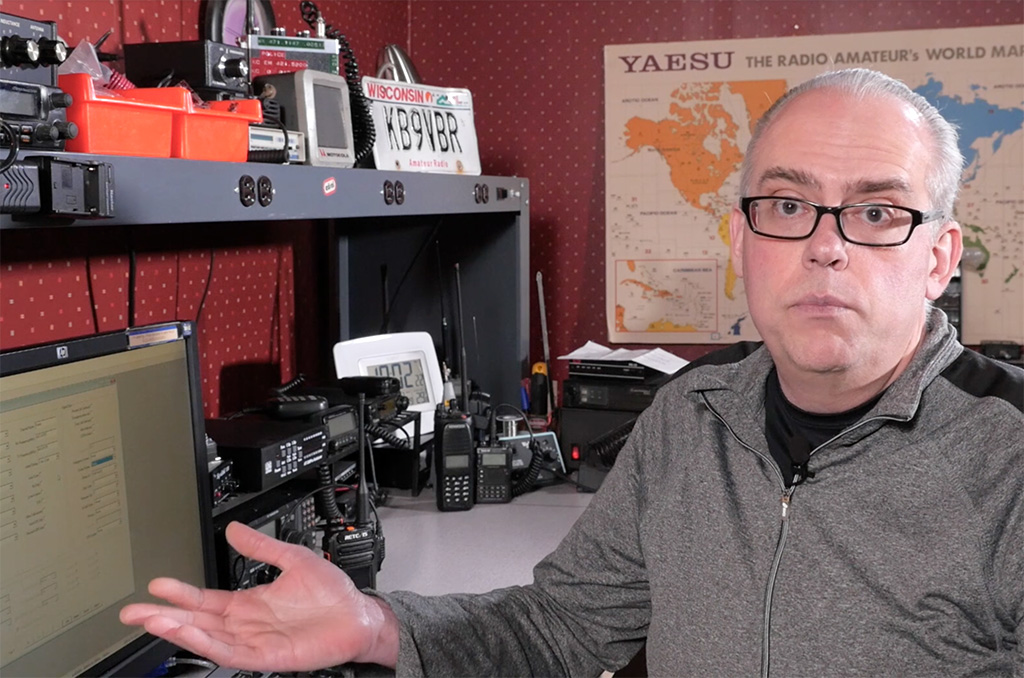
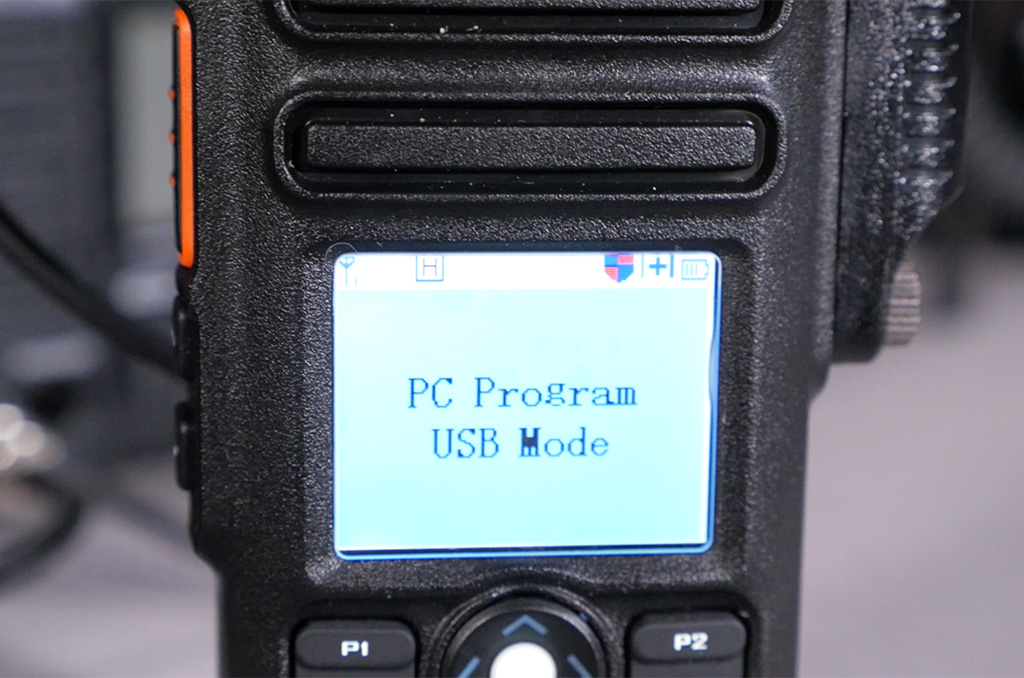
A DMR radio isn’t any good if it doesn’t have any frequencies or channels programmed into it. Programming your first DMR radio might feel a little bit daunting. It’s certainly different than programming an analog radio. So in part 2 in my series on DMR, we’re going to walk through the process of programming, or building a codeplug, for the Retevis RT82.
But this content isn’t just limited to the Retevis, the process is similar for almost all of the Chinese DMR radios, so this information is also good for the other brands.
In my previous article, I took a look at the Retevis RT82 DMR dual band handheld radio. In a nutshell, this is a Motorola Tier I & II compatible DMR radio with 3000 channels, 5 watt output power on VHF and 4 watts UHF. It also features good ergonomics and a IP67 waterproof designation. Click here to see that video and article.
So, what’s a codeplug? The codeplug is your radio’s programming file. DMR is a commercial radio standard, so many of the terms and conventions in programming the radios come from the commercial land-mobile world. This can create a little confusion if you aren’t familiar with those terms, but don’t worry, as we go through this video, things will start to make sense.
See my sample codeplug for the Retevis RT82. (Click to Download)
All right, let’s get into setting up your radio. If this is your first DMR radio, you are going to need a DMR ID. Head over the DMR Marc group and request an ID. Doing that will give you a seven digit code and your callsign will be registered in the worldwide DMR database. Once you’ve received your ID, you can continue on with the programming.
Next up is to download and install the software. Head over to the Retevis website, under Support, click on Resources, and select the RT82 button. Here you can download the programming software and the USB driver. I needed the driver to get the programming cable to work, but your mileage may vary. Install the software, launch it, connect the radio to the computer via the cable, and try reading from the radio.
Whenever you program a new radio, the first step you should do is to read from it and save a blank copy. Not only will this give you a backup of your radio file, but working with a copy read from the radio will help eliminate compatibility problems down the line. So read the radio, make a copy, and the edit that copy.
Ok, lets get into the meat of things. I’m going to open the basic settings and edit my callsign and add my DMR ID. We can leave the other settings as is, but I’m going to change the Freq/Tag so I see the alpha tags on the display instead of the frequencies. This makes more sense to me when changing channels.
Contacts, Channels, and Zones
Now three important concepts in DMR radio programming are the use of Contacts, Channels, and Zones. A contact can be the talk group you will be using or it can be an individual callsign. The channels will be our frequencies we will be using, either analog, or digital, and a Zone is a selection of channels that are grouped together. So when we program our radio for a repeater, there are several talk groups we will be using to link to a reflector, drop a reflector, and talk on a reflector. Each of these talk group actions will defined as a contact. So let’s put some contacts into the radio. Just to repeat, talk groups and reflectors tend to get used interchangeably, but they aren’t the same. A reflector lives in the cloud, it’s a group of linked repeaters or internet accessible groups where people communicate. The talk group is just a code used to interface with a reflector, or can be used to filter out reflector traffic. For example, if a repeater carries two reflectors on a particular time slot, you can switch between the reflectors by just changing the talk group your radio is tuned to.
Today I’m programming the radio for the Tri-State DMR network. This a group of linked repeaters covering Illinois, Indiana, and Wisconsin, and is part of the DMR-Marc network. But these steps will work for other networks too.
 So first let’s set up our contacts. On the Tri-State DMR website are a series of talk groups. Each of these talk groups will be defined as a contact. Talk Group 8 on slot one is for the linked repeater system, and remaining series of talk groups are for accessing the various reflectors carried on slot two. I’ll take a minute to add these.
I can also add individual callsigns to the contacts. for that I add their DMR ID and name. This can be used for two purposes, either to make a private call to the individual and to have the radio translate the DMR ID to their name on the radio’s display.
Moving on from contacts, I need to set up the receive groups. Since multiple talk groups can exist on a time slot, the receive groups give me a way to filter out traffic. The easiest method is to create one receive group and put all your talk groups into it. But say you want to only listen to North America and not the World Wide reflector. Then you can create multiple receive groups and assign a particular receive group to a channel. Confusing? Yeah, slightly. but moving on to channels, you’ll see how receive groups work.
I’m going to add channels. With an analog radio, each simplex frequency or repeater pair would be a channel, and that method holds true with this radio. I can add analog frequencies as individual channels to the radio. But for digital, I need to do a bit more work. Each talk group contact will get its own channel. So for my DMR repeater, I’ll add a channel for talk group 8 on slot 1, and seven channels, one for each of the talk groups for slot two. It’s kind of a tedious process, but that’s the way the DMR radio systems work.
So, I’m going to add eight blank channels to the list. Next I’m going to the first channel and will add the repeater frequencies, color code, time slot and talk group. Once that’s set, I can move on to channels two through seven. There’s a handy cut and paste feature to speed the process, you can copy the information from a previous channel and just change the talk group or contact ID.
After the channels have been defined, we need to create our zones. Zones are logical groups of channels. If there are two DMR repeaters, I may make a zone for each one and put all the pertinent channels for that repeater in the zone. I may also make additional zones for my analog repeaters and simplex channels. Zones let you organize your channels into logical groups.
So let’s add a zone, give it a name, and select and add the channels to the zone. The Retevis is a dual band radio with dual watch, so I can also add the same channels to the sub band. Or you could add an analog or simplex channel to the sub band, however you want to organize your zones, it’s up to you.
If everything is complete, then save the file and write it to the radio. Test things out and make any adjustments as necessary.
 Well, there you have it, how to program your Retevis RT82 DMR dual band handheld radio. One advantage of the Retevis is that you can make adjustments and add channels direct on the radio. But remember if you do that and decide to reprogram from the computer, you will need to read the program back in, edit and then write. Otherwise your changes make direct to the radio will be lost.
Are there any questions you have about programming your DMR radio? Please leave them in the comments below. I’ll have a followup video to answer any questions that come up. I’ve also provided a couple of links in the video description that I found helpful in programming a DMR radio. Please check them out for more detailed information.
Resources and Links Mentioned:
Retevis RT82 DMR Dual Band Handheld Radio:
http://www.retevis.com/rt82/?utm_source=Michael-post&utm_medium=RT82youtube2.ok%3F
Part I in my DMR series: Retevis RT82 DMR Dual Band Handheld Radio Review – Ham Radio Q&A
https://youtu.be/6gZMwKM7Yeg
Get your DMR Radio ID:
http://dmr-marc.net/
Tri-State DMR Network:
http://tristatedmr.org/
Amateur Radio DMR Programming
https://youtu.be/a0yzn2rckEo
Recent Comments